Restricting User Messages (Safe Messaging)
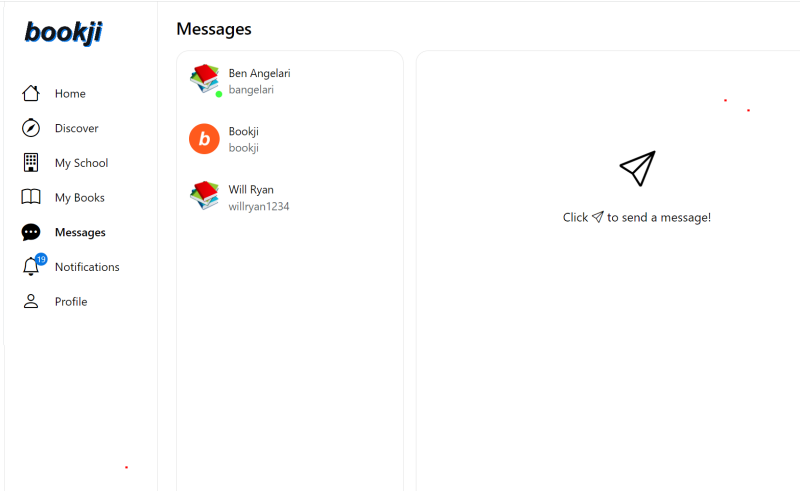
Bookji's messaging feature allows students and educators to send messages to other students/educators in their classes or school.
If you are concerned about your students' messages, you can 'Restrict' them to only sending predefined messages. eith at a class-level or per student-level.
Class level Permission
To apply the restriction at the class level, goto My School > School Classes, or My School > My Classes and click the Edit icon for the class you wish to apply the restriction to. This action will open the following dialog:
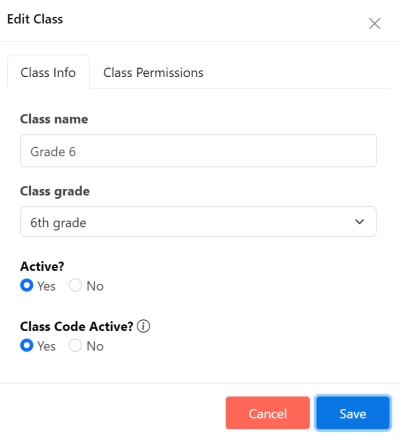
Then click on the 'Permissions' tab.
Here, you will see two permissions, 'Create Posts' and 'Create Messages.'
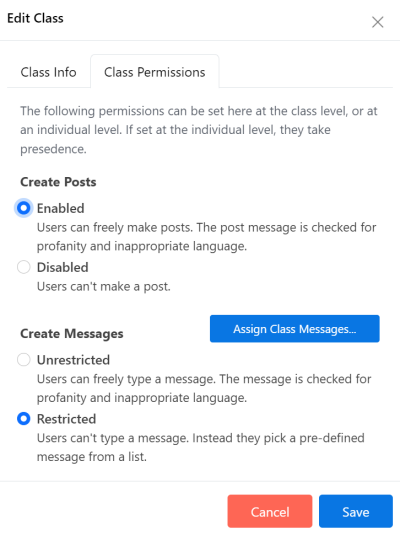
Check the 'Restricted' radio button and click 'Save' to apply the restriction.
User level Permission
To restrict at an individual user level, go to any of the following:
- My School > School Students
- My School > My Classes > then click on the count of users for the desired class. This will open the 'Class Students' page.
- My School > My Students
- My School > School Classes then click on the count of users for the desired class. This will open the 'Class Students' page.
Then click on the pencil icon for the desired user, which will open the Edit User dialog. Click on the 'User Permissions' tab.
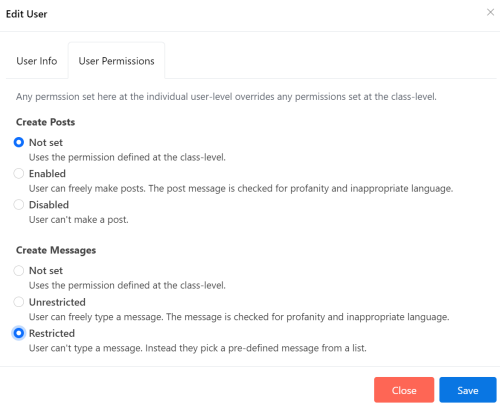
This dialog is similar to the Edit Class > Class Permissions in that the same two (2) permissions are listed, 'Create Posts' and 'Create Messages.'
To apply the restriction at the individual level, click the 'Restricted' radio button under the 'Create Messages' section. Note that the 'Not set' option, clears the permission set at the individual level and uses the permission at the class level. Permissions set at the individual level take precedence over permissions set at the class level.
Predefined Messages
To control what messages your users can send, you select and/or create the predefined messages that they will see. Bookji has several system level predefined messages, and allows you to create your own. To do this, open the Edit Class dialog, as explained previously. Next to the 'Create Messages' header, click the 'Assign Class Messages' button.

This will open a new dialog where you can select, by checking any of the checkboxes to the left of the message, any system predefined message that you want to display or create and edit your own.
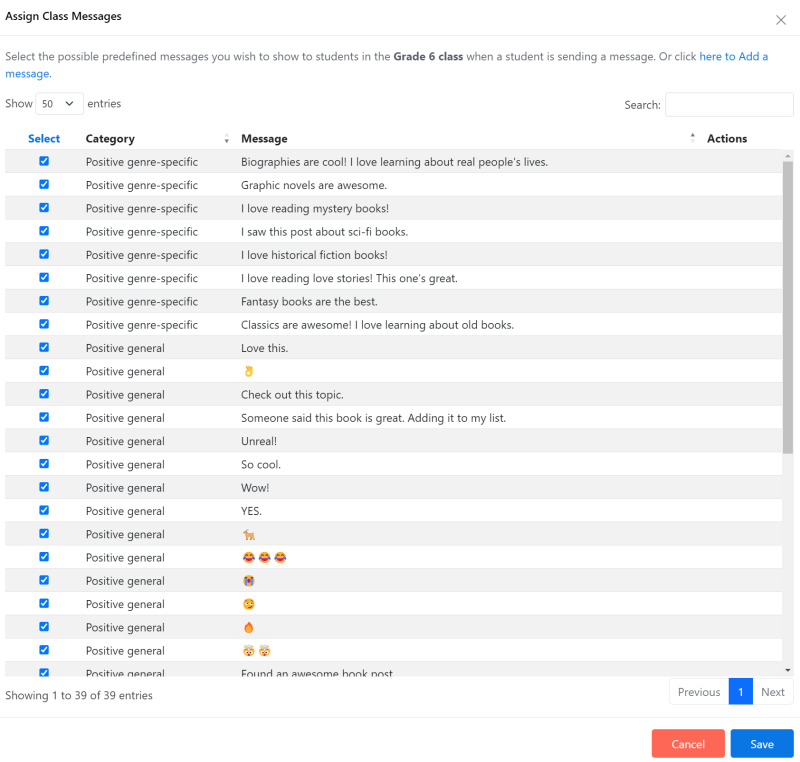
Choose the designed messages you want to appear for this class, by checking the desired message. You can click the 'Select' column header to select all options, or deselect all options.
Click the link 'here to add a message', to add a new message. This will open the following dialog, where you will supply the Message, categorize it, and choose when the message should show.
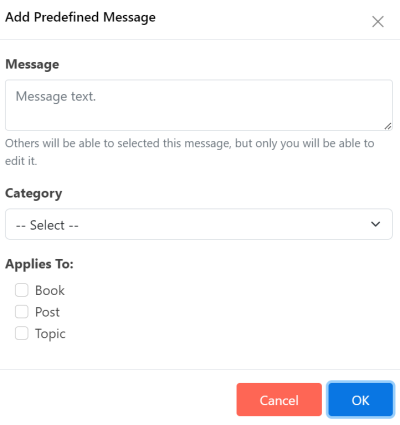
The 'Applies To' checkboxes determine when the message will show for sending. For example, if only 'Book' is checked, that message will only appear for sending when the user is sending a message regarding a book.
This same dialog is used when editing a message. You can only edit messages that you created. You can not edit any of the system messages.
Sending Predefined Messages
When Students have the 'Restricted' permission set, either at the class level or individual level, they can only send a message when clicking on the 'Send Message to Friend' icon for a Book, Post or Topic.
For a Book, you will see the 'Send Message to Friend' paper airplane icon under the 'Reading Actions' section.
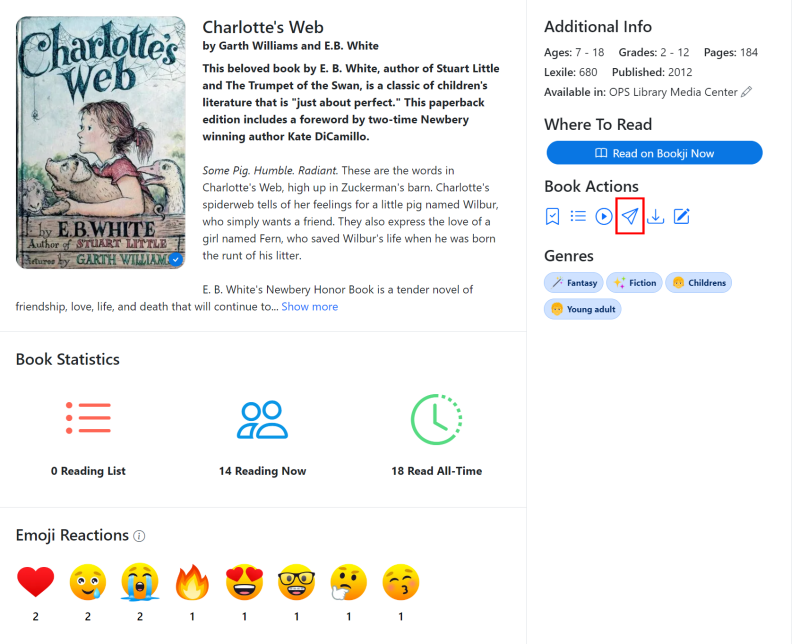
For a Post, the same icon will appear under each post.
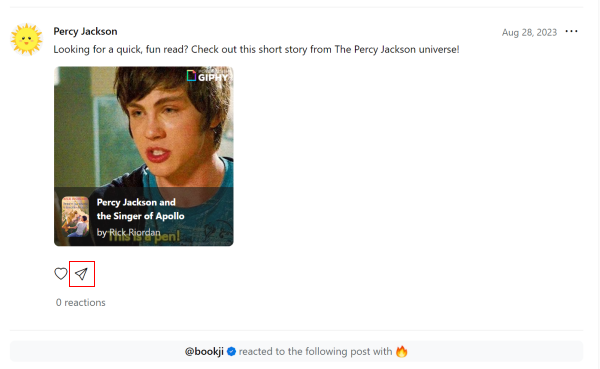
And the same goes for a topic; it will appear under the topic description in the right-hand column.
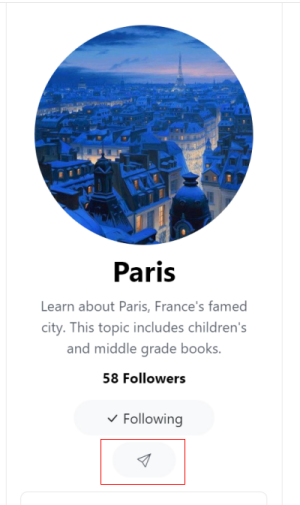
When clicking the 'Send Message to Friend' paper airplane icon, the following dialog will be invoked:
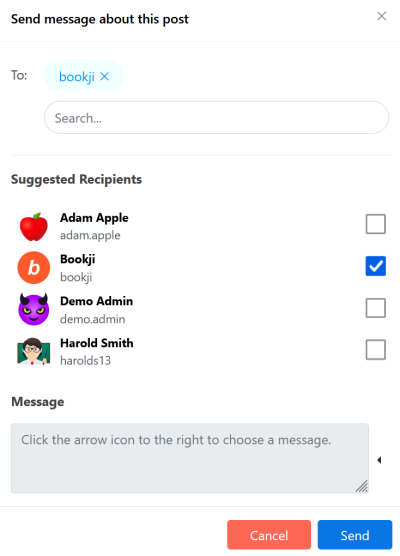
Notice that the message textarea is disabled, but an arrow appears to its right.
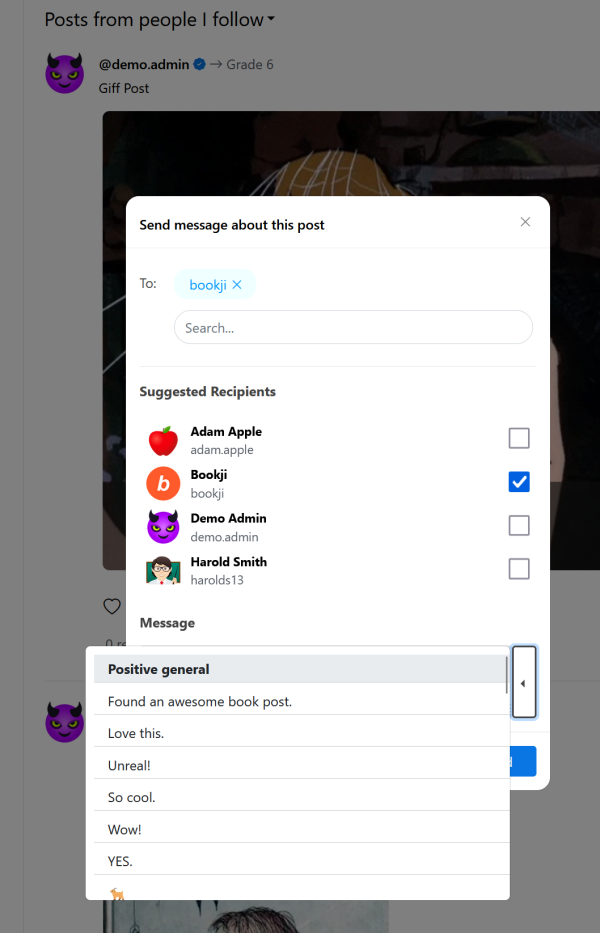
Clicking this arrow will invoke a categorized popup of messages. The user simply selects the message they want to send, and it will be inserted into the message textarea, ready to be sent.
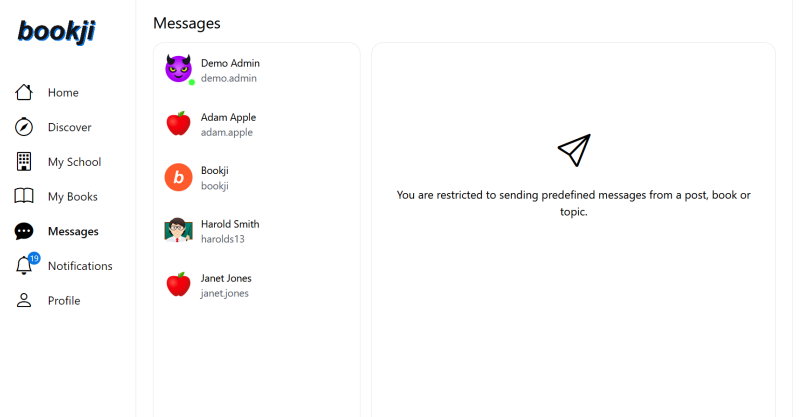
For restricted users, when they navigate to the 'Messages' page, they will not be able to send messages nor reply to an existing message. They see a message: 'You are restricted to sending predefined messages from a post, book, or topic.'
